Gunpla, or Gundam plastic models, are beloved by hobbyists for their intricate designs and customizability. One way to enhance the realism and visual appeal of your Gunpla is through weathering techniques. This guide will walk you through the basics of weathering your Gunpla models, helping you achieve that authentic, battle-worn look.
What is Weathering?
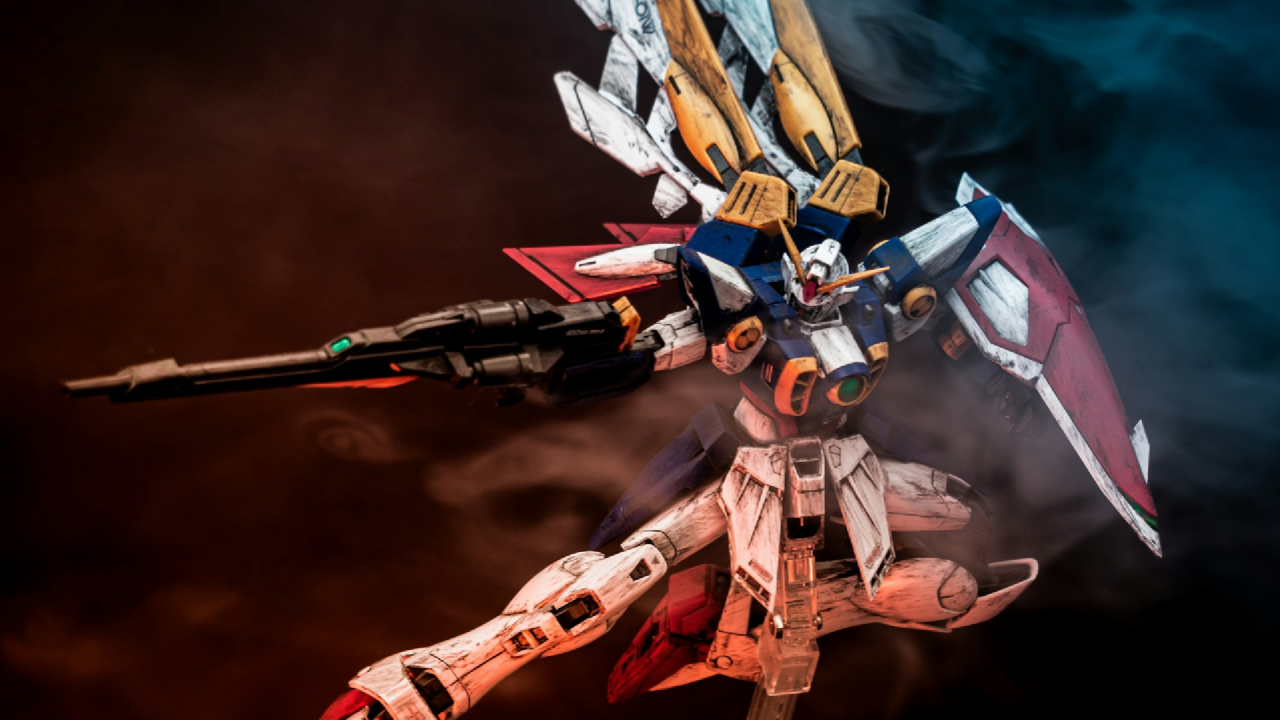
Weathering is the process of adding realistic effects to models to simulate wear and tear. This can include rust, dirt, scratches, and fading, giving your model a more dynamic and lifelike appearance.
Essential Tools and Materials

Before you start, gather the following supplies:
1. Paints: Acrylic paints are popular for weathering due to their ease of use and clean-up. You'll need a variety of colors for different effects.
2. Wash: A wash is a thinned paint that settles into the crevices of your model, emphasizing details.
3. Pigments: These are powdered materials that can be applied for effects like dust or rust.
4. Brushes: A range of brush sizes will help you achieve different techniques.
5. Airbrush (optional): For finer control and smooth application, an airbrush can be very useful.
6. Sealant: A clear coat will protect your weathering effects and provide a finish.
7. Cotton swabs and rags: For cleaning and blending.

Weathering Techniques
1. Pre-Shading
Before applying your base color, you can pre-shade your model. Use a dark paint to highlight the panel lines and recesses. This adds depth and prepares the surface for further weathering.
2. Applying a Wash
After painting your model, apply a wash to accentuate details:
- Mix the Wash: Thin down your chosen paint with water or medium until it has a syrupy consistency.
- Application: Use a brush to apply the wash over the entire model, ensuring it settles in the crevices. Wipe off excess with a clean rag, leaving the wash in the details.
- Drying: Allow it to dry completely before moving on.
3. Dry Brushing
Dry brushing is an effective way to create highlights:
- Prepare the Brush: Dip a brush in a lighter color and remove most of the paint on a rag.
- Technique: Gently drag the brush across raised surfaces to highlight edges and details.
4. Chipping
For a battle-worn look, simulate paint chips:
- Method: Use a fine brush or sponge with a contrasting color. Dab or flick it onto areas where chipping would naturally occur, like edges and corners.
(video: thosegundamguys.org)
5. Adding Pigments
Pigments can simulate dirt, rust, or other textures:
- Application: Use a brush to apply pigments to desired areas. You can blend colors for a more realistic effect.
- Fixing: Use a fixer spray or a light application of water to set the pigments in place.
(video: thosegundamguys.org)
6. Final Touches
Once you're satisfied with the weathering, apply a sealant to protect your work:
- Clear Coat: Choose a matte, satin, or gloss finish based on your desired look. This will unify the finish and protect the model from dust and scratches.
Conclusion

Weathering your Gunpla models adds depth and realism that can elevate your display. By using washes, dry brushing, chipping, and pigments, you can create unique and stunning effects. Don’t hesitate to experiment with different techniques and find what works best for you. Happy building and weathering!